Windows Agent 제거
1) DeepFinder Agent가 설치된 디렉터리에 있는 uninstall.exe 실행 프로그램을 실행합니다.
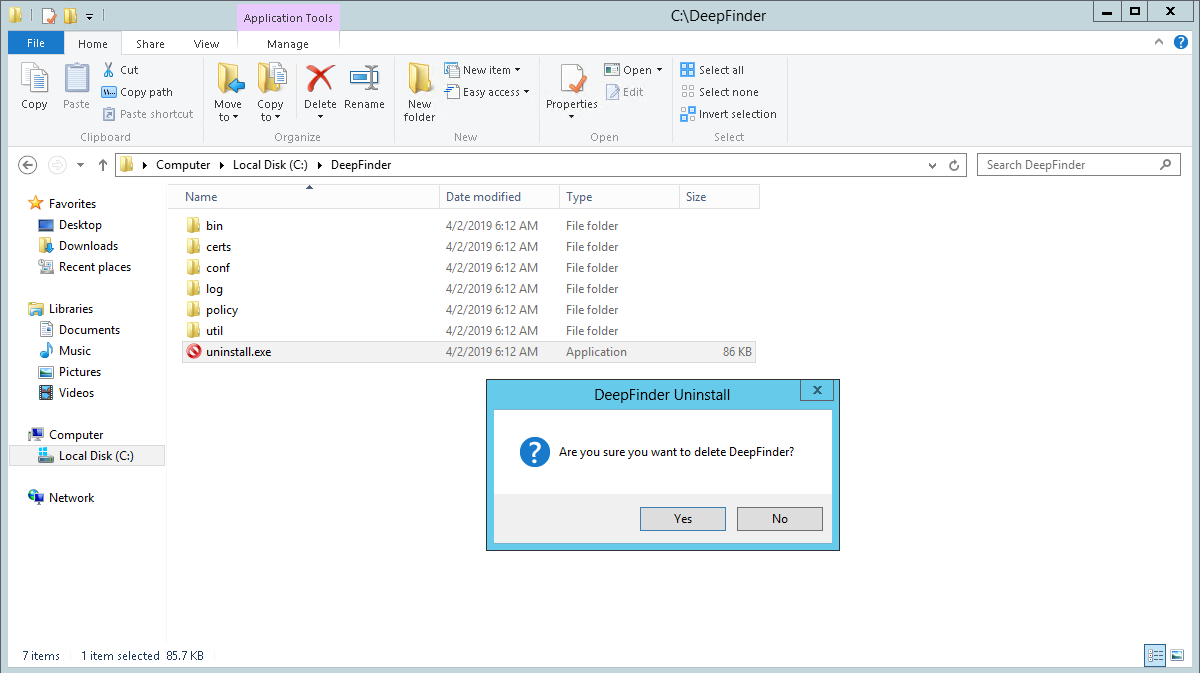
2) 다음과 같은 창이 뜨면 [제거] 버튼을 클릭하여 제거를 진행합니다.
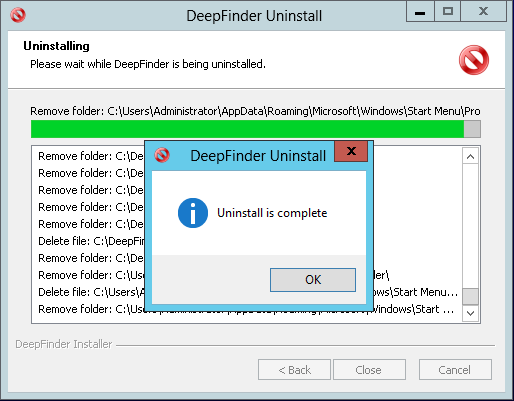
Agent를 제거 후에도 기존 DeepFinder 디렉토리가 남아 있는 경우 IIS 응용프로그램 풀 재생 / Apache restart를 이용하여 서비스를 재 갱신한 후 디렉토리를 삭제합니다.
Linux Agent 제거
DeepFinder Apache Agent Uninstall
1) %DeeFinder install path%/bin/uninstall.sh 실행
[root@localhost /]# cd /usr/local/deepfinder/bin
[root@localhost bin]# ./uninstall.sh
2) Apache 재시작
아파치 설정 내용이 삭제되었는지 확인한 후 아파치를 재시작합니다.
[root@localhost bin]# [apache_DIR]/bin/apachectl -k reload
DeepFinder Nginx Agent Uninstall
1) %DeeFinder install path%/bin/uninstall.sh 실행
[root@localhost /]# cd /usr/local/deepfinder/bin
[root@localhost bin]# ./uninstall.sh
2) Nginx 재시작
Nginx 설정 내용이 삭제되었는지 확인한 후 Nginx를 재시작합니다.
[root@localhost bin]# [nginx_DIR]/bin/nginx –s reload
DeepFinder WAS Agent Uninstall
1) %DeeFinder install path%/bin/uninstall.sh 실행 후 설정파일 제거
[root@localhost bin]# ./uninstall.sh
[root@localhost bin]# vi [WAS_DIR]/conf/web.xml     // DfFilter 설정스크립트 제거
[root@localhost bin]# rm –rf [WAS_DIR]/lib/DfFilter.jar // DfFilter 제거
2) WAS 재시작
WAS 설정 내용을 삭제한 후 WAS를 재시작합니다.(설정 내역은 설치 부분 참조)
[root@localhost ~]# %WAS PATH%/bin/shutdown.sh
[root@localhost ~]# %WAS PATH%/bin/startup.sh